RTFM

[Read This Fine Material] from Joshua Hoblitt

How to add disks to an existing GPFS filesystem

| 1 Comment

Additonal blockdevices or GPFS “disks” can be added to an existing filesystem. Each new block device first needs to as an NSD and then those NSDs can be added to a filessytem.

The state of the filesystem in terms of disks at start:

[root@foonsd1 init.d]# mmlsnsd

 File system   Disk name    NSD servers                                    
---------------------------------------------------------------------------
 foodata1      nsd1         foonsd1.tuc.noao.edu     
 foodata1      nsd2         foonsd2.tuc.noao.edu     
[root@foonsd1 init.d]# mmlsdisk foodata1
disk         driver   sector failure holds    holds
storage
name         type       size   group metadata data  status        availability
pool
------------ -------- ------ ------- -------- ----- ------------- ------------
------------
nsd1         nsd         512       1 Yes      Yes   ready         up
system       
nsd2         nsd         512       2 Yes      Yes   ready         up
system
[root@foonsd1 ~]# df -h /net/foodata1/
Filesystem            Size  Used Avail Use% Mounted on
/dev/foodata1          18T  1.6T   16T   9% /net/foodata1       

There are a coule of different syntaxes that can be used to setup the NSDs. I opted for extended the original “DescFile” that was used to setup the filesystem. The /dev/sdc devices (nsd[34]) are new while the other two disks existed at filesystem creation time.

[root@foonsd1 init.d]# cat >descfile.txt< sdb:foonsd1::dataAndMetadata:1:nsd1:
> sdc:foonsd1::dataAndMetadata:1:nsd3:
> sdb:foonsd2::dataAndMetadata:2:nsd2:
> sdc:foonsd2::dataAndMetadata:2:nsd4:
> END
[root@foonsd1 init.d]# mmcrnsd -F ./descfile.txt
mmcrnsd: Processing disk sdb
mmcrnsd: Disk name nsd1 is already registered for use by GPFS.
mmcrnsd: Processing disk sdc
mmcrnsd: Processing disk sdb
mmcrnsd: Disk name nsd2 is already registered for use by GPFS.
mmcrnsd: Processing disk sdc
mmcrnsd: Propagating the cluster configuration data to all
  affected nodes.  This is an asynchronous process.
[root@foonsd1 init.d]# mmlsnsd

 File system   Disk name    NSD servers                                    
---------------------------------------------------------------------------
 foodata1      nsd1         foonsd1.tuc.noao.edu     
 foodata1      nsd2         foonsd2.tuc.noao.edu     
 (free disk)   nsd3         foonsd1.tuc.noao.edu     
 (free disk)   nsd4         foonsd2.tuc.noao.edu     

Note that in the rewritten DescFile that the pre-existing nsds 1 & 2 are commented out.

[root@foonsd1 init.d]# cat descfile.txt
# sdb:foonsd1::dataAndMetadata:1:nsd1:
# sdc:foonsd1::dataAndMetadata:1:nsd3:
nsd3:::dataAndMetadata:1::system
# sdb:foonsd2::dataAndMetadata:2:nsd2:
# sdc:foonsd2::dataAndMetadata:2:nsd4:
nsd4:::dataAndMetadata:2::system

Now we just need to add the new NSDs to the filesystem.

[root@foonsd1 init.d]# mmadddisk foodata1 -F ./descfile.txt 

The following disks of foodata1 will be formatted on node
foonsd2.tuc.noao.edu:
    nsd3: size 9368502272 KB
    nsd4: size 9368502272 KB
Extending Allocation Map
Checking Allocation Map for storage pool 'system'
Completed adding disks to file system foodata1.
mmadddisk: Propagating the cluster configuration data to all
  affected nodes.  This is an asynchronous process.
[root@foonsd1 init.d]# mmlsnsd 

 File system   Disk name    NSD servers                                    
---------------------------------------------------------------------------
 foodata1      nsd1         foonsd1.tuc.noao.edu     
 foodata1      nsd2         foonsd2.tuc.noao.edu     
 foodata1      nsd3         foonsd1.tuc.noao.edu     
 foodata1      nsd4         foonsd2.tuc.noao.edu     

[root@foonsd1 init.d]# mmlsdisk foodata1
disk         driver   sector failure holds    holds
storage
name         type       size   group metadata data  status        availability
pool
------------ -------- ------ ------- -------- ----- ------------- ------------------------
nsd1         nsd         512       1 Yes      Yes   ready         up
system       
nsd2         nsd         512       2 Yes      Yes   ready         up
system       
nsd3         nsd         512       1 Yes      Yes   ready         up
system       
nsd4         nsd         512       2 Yes      Yes   ready         up
system       
[root@foonsd2 ~]# df -h /net/foodata1/
Filesystem            Size  Used Avail Use% Mounted on
/dev/foodata1          35T  1.5T   34T   5% /net/foodata1

At this point it’s not a bad idea to restripe the filesystem so existing data can benefit from the potental performance advantage of being distributed across additional disks.

[root@foonsd1 init.d]# mmrestripefs foodata1 -R
Scanning file system metadata, phase 1 ... 
Scan completed successfully.
Scanning file system metadata, phase 2 ... 
Scan completed successfully.
Scanning file system metadata, phase 3 ... 
Scan completed successfully.
Scanning file system metadata, phase 4 ... 
Scan completed successfully.
Scanning user file metadata ...
 100.00 % complete on Wed Jul 25 17:23:27 2012
Scan completed successfully.
Error in PREUN scriptlet in rpm package sas_snmp

| 2 Comments

The sas_snmp-3.17-1118.i386 package as provided by LSI in the Megaraid storage manager package is buggy and fails to uninstall.  This even blocks upgrades to newer versions of this package.  Unfortunately, I have this package installed on a lot of systems and I ended up having to manually resolve a bunch of puppet run failures when I placed updated rpms in my local “lsi” repo.

This is the procedure to resolve the failure:

# rpm -e sas_snmp.i386
/var/tmp/rpm-tmp.Htmwit: line 1: /etc/lsi_mrdsnmp/sas/uninstall: No such file or directory
error: %preun(sas_snmp-3.17-1118.i386) scriptlet failed, exit status 127
# rpm -qa | grep sas_snmp
sas_snmp-3.17-1118.i386
# rpm -e sas_snmp.i386
/var/tmp/rpm-tmp.es7YWz: line 1: /etc/lsi_mrdsnmp/sas/uninstall: No such file or directory
error: %preun(sas_snmp-3.17-1118.i386) scriptlet failed, exit status 127
# mkdir -p /etc/lsi_mrdsnmp/sas/
# touch /etc/lsi_mrdsnmp/sas/uninstall
# chmod 777 /etc/lsi_mrdsnmp/sas/uninstall
# rpm -e sas_snmp.i386
# rm -rf /etc/lsi_mrdsnmp/
# rpm -qa | grep sas_snmp
# 

Lifting a sectional couch – part 1

| 0 comments

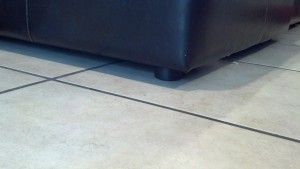
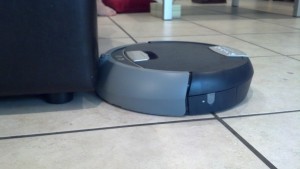
My sectional couch doesn’t have much clearance under it, like most couches. This is annoying because 1) scorpions like to hide under my couch, 2) (as I discovered measuring for this project) centipedes like to hide under my couch, 3) crap piles up under the couch because neither the vacuum clearer, the mop, or the scooba can clean under it. I’ve put up with this for three years; it’s time to raise the couch high enough that it’s scooba access compliant.


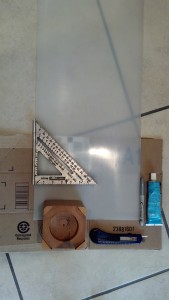
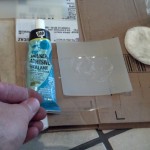
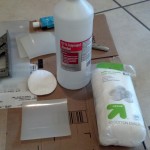
Materials needed for this project:

  • pre-made wooden furniture lifts
  • 1/8″ thick silicon sheeting (1/16″ or even 1/32″ should work)
  • DAP 100% silicone adhesive
  • isopropyl alcohol
  • marker
  • cotton cleaning pads
  • utility knife
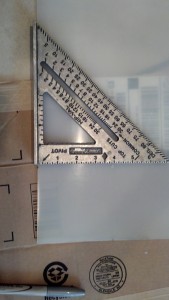
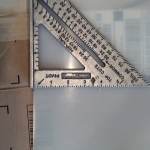
  • square/protractor and/or straight edge (I used a 7″ speed square)
  • a safe cutting surface
  • some sort of clamps that clear 4″
  • some sort of tool for smoothing adhesive (I used a part of some recycled container)

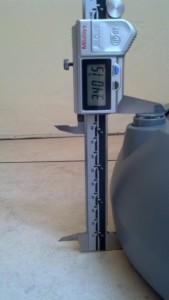
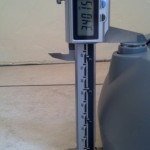
The couch needs to go up quite a bit to allow enough clearance for my scooba to pass under it. It measures ~3.4″ top bottom no including the height added by the wheels.


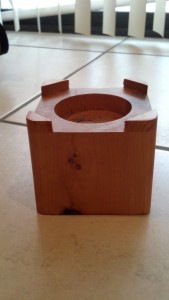
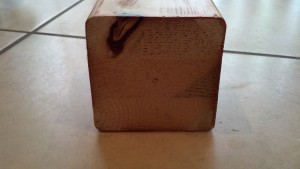
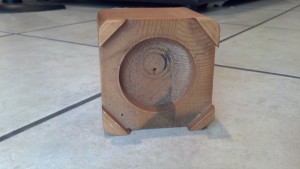
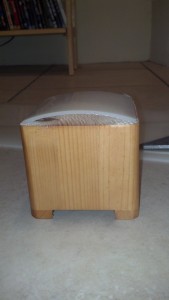
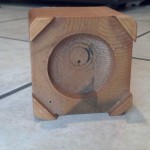
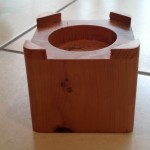
I found a 4 pack of wooden furniture lifts on AMZ, which is in enough to test lifting a single peice of my sectional couch set. They did lift the couch just the right amount but the bottom of the wooden blocks on the tile floors in the living room didn’t provide enough traction. Every time someone sat down on a couch that section would slide backwards a disturbing amount.

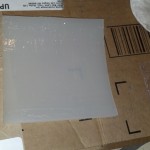
I purchased a 12″x36″ sheet of  1/8″ silicone from a vendor on AMZ.  I decided to go with silicone as, although it’s difficult to bond, it shouldn’t mark the floors.  1/8″ is vastly thicker than is need as an anti-skid pad but I wanted enough thickness that I could score or sand the surface if I had difficulty getting it to adhere to the wooden blocks.

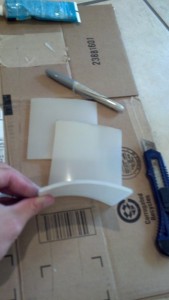
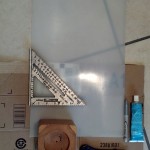
The wooden blocks measure ~4.3″x4.25″ and are somewhat trapezoidal.  I decided to cute the silicone into 4″x4″ squares.

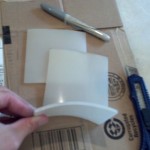
The silicone has a curve to it from being rolled up for shipment.

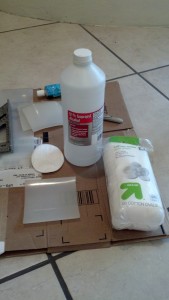
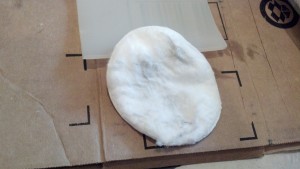
I decided to face the convex side towards the wood to discourage the corners from peeling up.  The silicone was rather dirty from the vendor so I cleaned the side adhesive would be applied to with proposal alcohol.

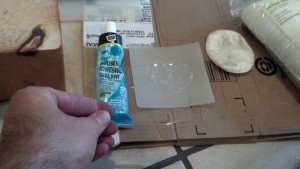
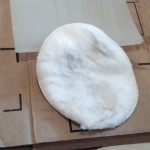
I applied to thick coats of DAP 100% silicone adhesive with a piece of plastic cut from the side of some container in the recycling bin.

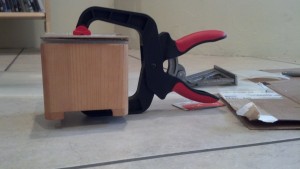
I folded up some cardboard (likely from an AMZ box) and used it with a clamp to help fold the silicone flat.  More to come.


Shrinking and/or compressing raw VM images

| 0 comments

I need to ship a clone of a VM image “transhemispherically” over a high latency link that tends to have many connection failures with scp/ssh+rsync. I decided to investigate shrinking the raw images that are in use for performance reason.

The VM image I used for testing in a clone of a real production image. It’s a 40GB raw file with the following paritioning and data usage.

$ du -sk foo.img
41943044	foo.img
[jhoblitt@foo ~]$ df -h
Filesystem            Size  Used Avail Use% Mounted on
/dev/mapper/bootvg.foo-root
                      7.9G  3.5G  4.1G  47% /
tmpfs                 1.9G     0  1.9G   0% /dev/shm
/dev/vda1             248M   57M  179M  25% /boot
/dev/mapper/bootvg.foo-home
                      7.9G  147M  7.4G   2% /home
/dev/mapper/bootvg.foo-tmp
                      4.0G  140M  3.7G   4% /tmp
/dev/mapper/bootvg.foo-var
                      7.9G  1.6G  6.0G  21% /var
/dev/mapper/bootvg.foo-ftp
                      7.9G  147M  7.4G   2% /d1/ftp

The test setup was as follows to test raw -> qcow2 (with and without native qcow2 zlib compression), lzma, bzip2, and gzip (zlib) compression.

# convert raw to qcow2 (non-sparse)
qemu-img convert -O qcow2 foo.img foo.qcow2

# convert raw to compresed qcow2 (non-sparse)
qemu-img convert -O qcow2 -c foo.img foo.compressed.qcow2

# compressing the raw image
lzma -k --best foo.img &
bzip2 -k --best foo.img &
gzip --best -c foo.img > foo.img.gz &

# compressing the non-natively compressed qcow2 image
lzma -k --best foo.qcow2
bzip2 -k --best foo.qcow2 &
gzip --best -c foo.qcow2 > foo.qcow2.gz &

The results are as follows:

$ du -sk foo.* | sort -nr
41943044	foo.img
6438348	foo.qcow2
2106320	foo.compressed.qcow2
1884580	foo.img.gz
1850252	foo.qcow2.gz
1667536	foo.img.bz2
1667204	foo.qcow2.bz2
1122428	foo.img.lzma
1116324	foo.qcow2.lzma

I find several things in the results fairly surprising. I would not have have expected the gzip’d qcow2 image to be ~12% smaller than the native qcow2 zlib compression. The other big surprise was that lzma compression of the raw image was within 1% of running lzma on the qcow2 image. Since I want raw images after transfer anyways, lzma of the raw image is the winner for me with it’s factor of 37 compression ratio. However, keep in mind that for my usage case I’m shipping across a high latency / low throughput link so I’m willing to pay for the substain lzma compression time. I did not include compression times in the results since I was compressing many images in parallel.

4TB Hitachi Ultrastar 7K4000 SATA disks are shipping!

| 0 comments

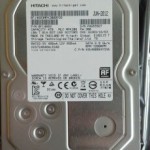
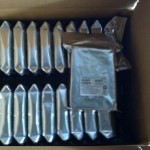
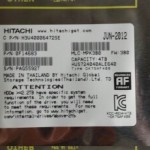
The first “enterprise” model 4TB Ultrastar 7k4000 (HUS724040ALE640) disks are starting to ship from Hitachi. One hundred of them are currently sitting in my office with a manufacturing date of June 2012. 🙂

They are 7200 RPM with a SATA interface and my expectation is that this is the last generation of HGST SATA disks with time limited error recovery now that Western Digital has completed it’s purchase of Hitachi Global Storage Technology. I suspect this as WD recently split the 10K RPM SATA “Velociraptor” line into the “desktop” Velociraptor lines and “enterprise” XE (also briefly known as the WD25s) lines which seems to only differ by the XE series having TLER enabled firmware and a SAS interface. That reorganization is probably a sign that most HDD controller chips, similar as to what happened with LSI RAID controller chips over the last few year, now all support both SATA and SAS and are trivially configurable between the two protocols via packaging modifications or firmware. That’s clearly a vendor interest in forcing the “enterprise” market over to SAS disks as that interface still demands a cost premium. I also suspect we may see a SAS version of the Ultrastar 7k4000s in the near future.

Rather remarkably, July was the expected shipment time frame indicated to me by a number of my suppliers as indicated to them by Hitachi directly. The fact that this SKU shipped on time may be a sign that the manufacturing problems in Thailand due to flooding last year may now be behind us. Conversely, a Western Digital sales rep had hold me not to expect disks in volume until much later in the calendar year. So it’s not yet clear if these are just early samples or if disks are truly shipping in volume.